
HOW TO USE
YOUR E-BIKE

How to get rolling, with power assist:
View the quickstart guide below to power your bike on and off, charge your bike and more!

GETTING STARTED
POWER ON/OFF
To power ON the Hudson E2 pedal assist system, long-press the power button for one second or until you see the LED indicator illuminate. To power OFF the system, press and hold the power button for three seconds or until you see the LED indicator turn off.

PEDAL ASSIST CONTROL
Press the UP/DOWN button to control the level of pedal assist support.
When the system is first powered on, the LED will be illuminated WHITE, which indicates NO pedal assist.
With each press of the UP button, the LED will change color to indicate the amount of pedal assist.
GREEN = Level 1 Pedal Assist
YELLOW = Level 2 Pedal Assist
RED = Level 3 Pedal Assist
Choose the optimal amount of pedal assist for your preferred comfort level.

GETTING CHARGED
BATTERY LEVEL INDICATION
The Hudson E2 handlebar control indicates your current battery level. See diagram to understand how to read these indicators to let you know when its time for a re-charge.
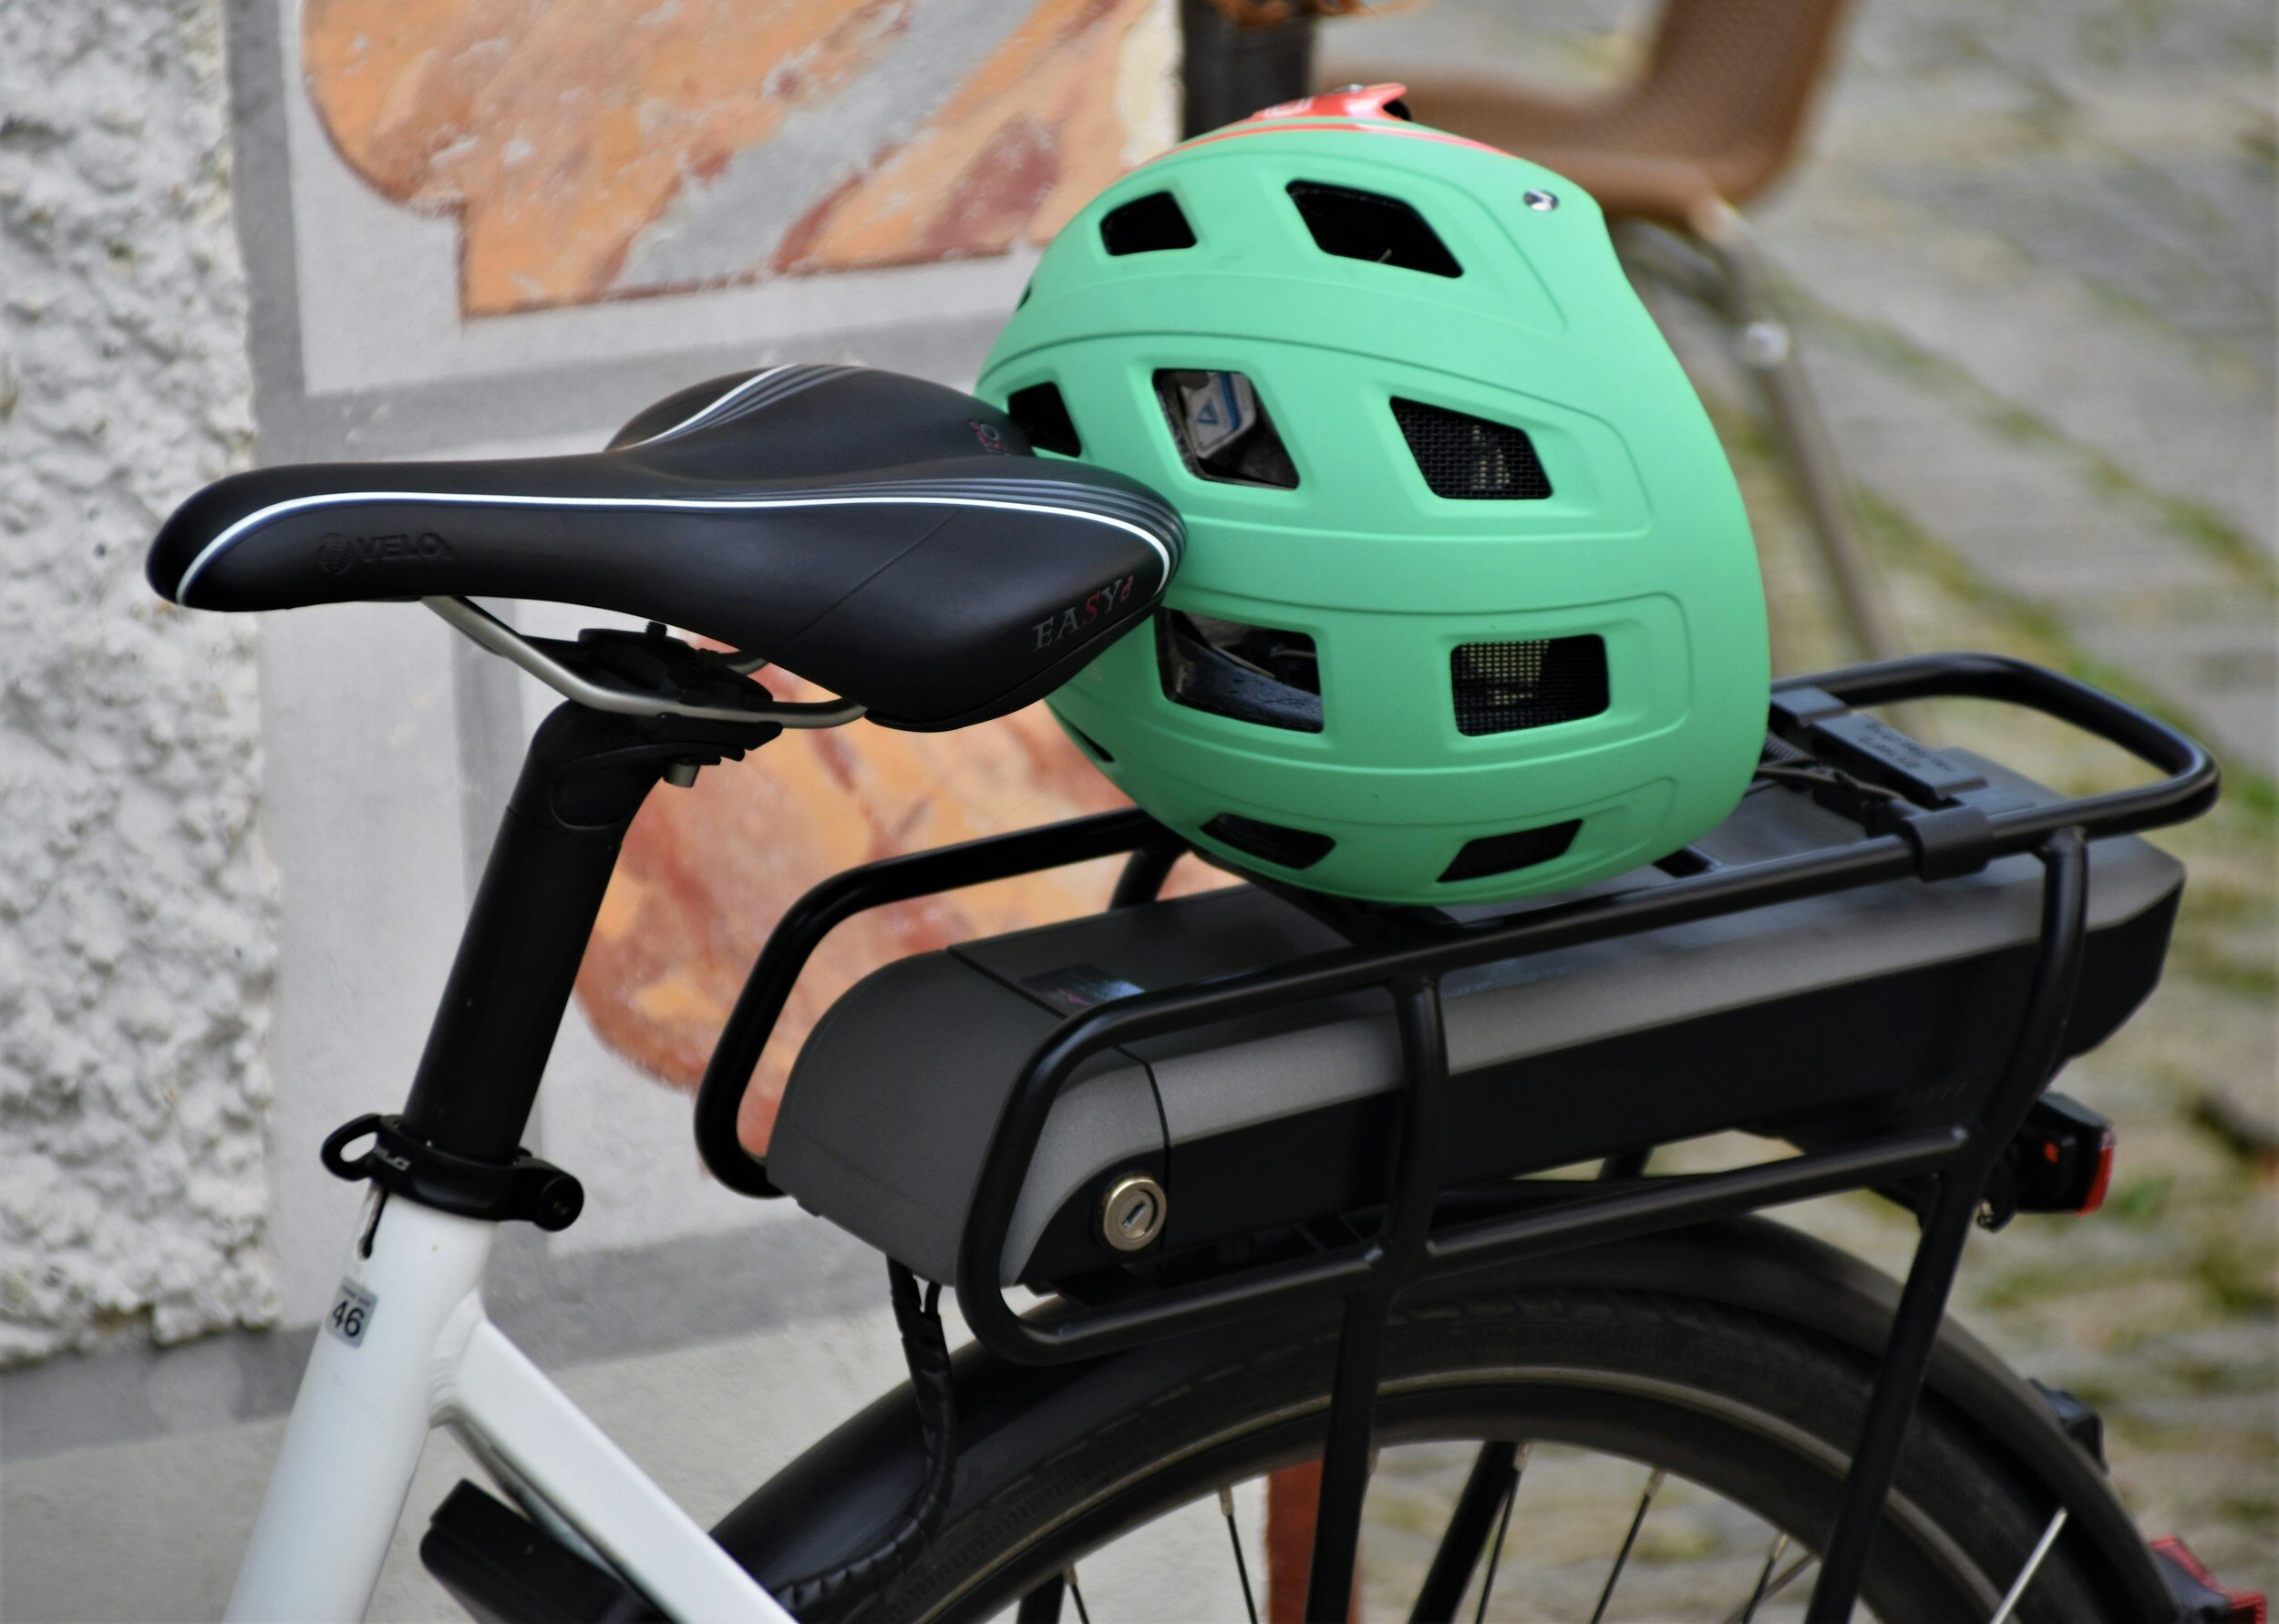
ATTACH CHARGING CABLE
After locating the charging port on the side of the battery, lift the protective cover and attach charging cable. Plug the other end of the charging cable into a standard recepticle.
You will notice the LED indicator on the opposite side of the battery will blink to indicate the battery is charging. After the charging process is complete (approximately 4-5 hours for a full charge from empty), the LED will stop blinking and all five green LED bars will be illuminated.
-
a fully charged battery should last for about 50 miles if you turn it off when you park or stop
-
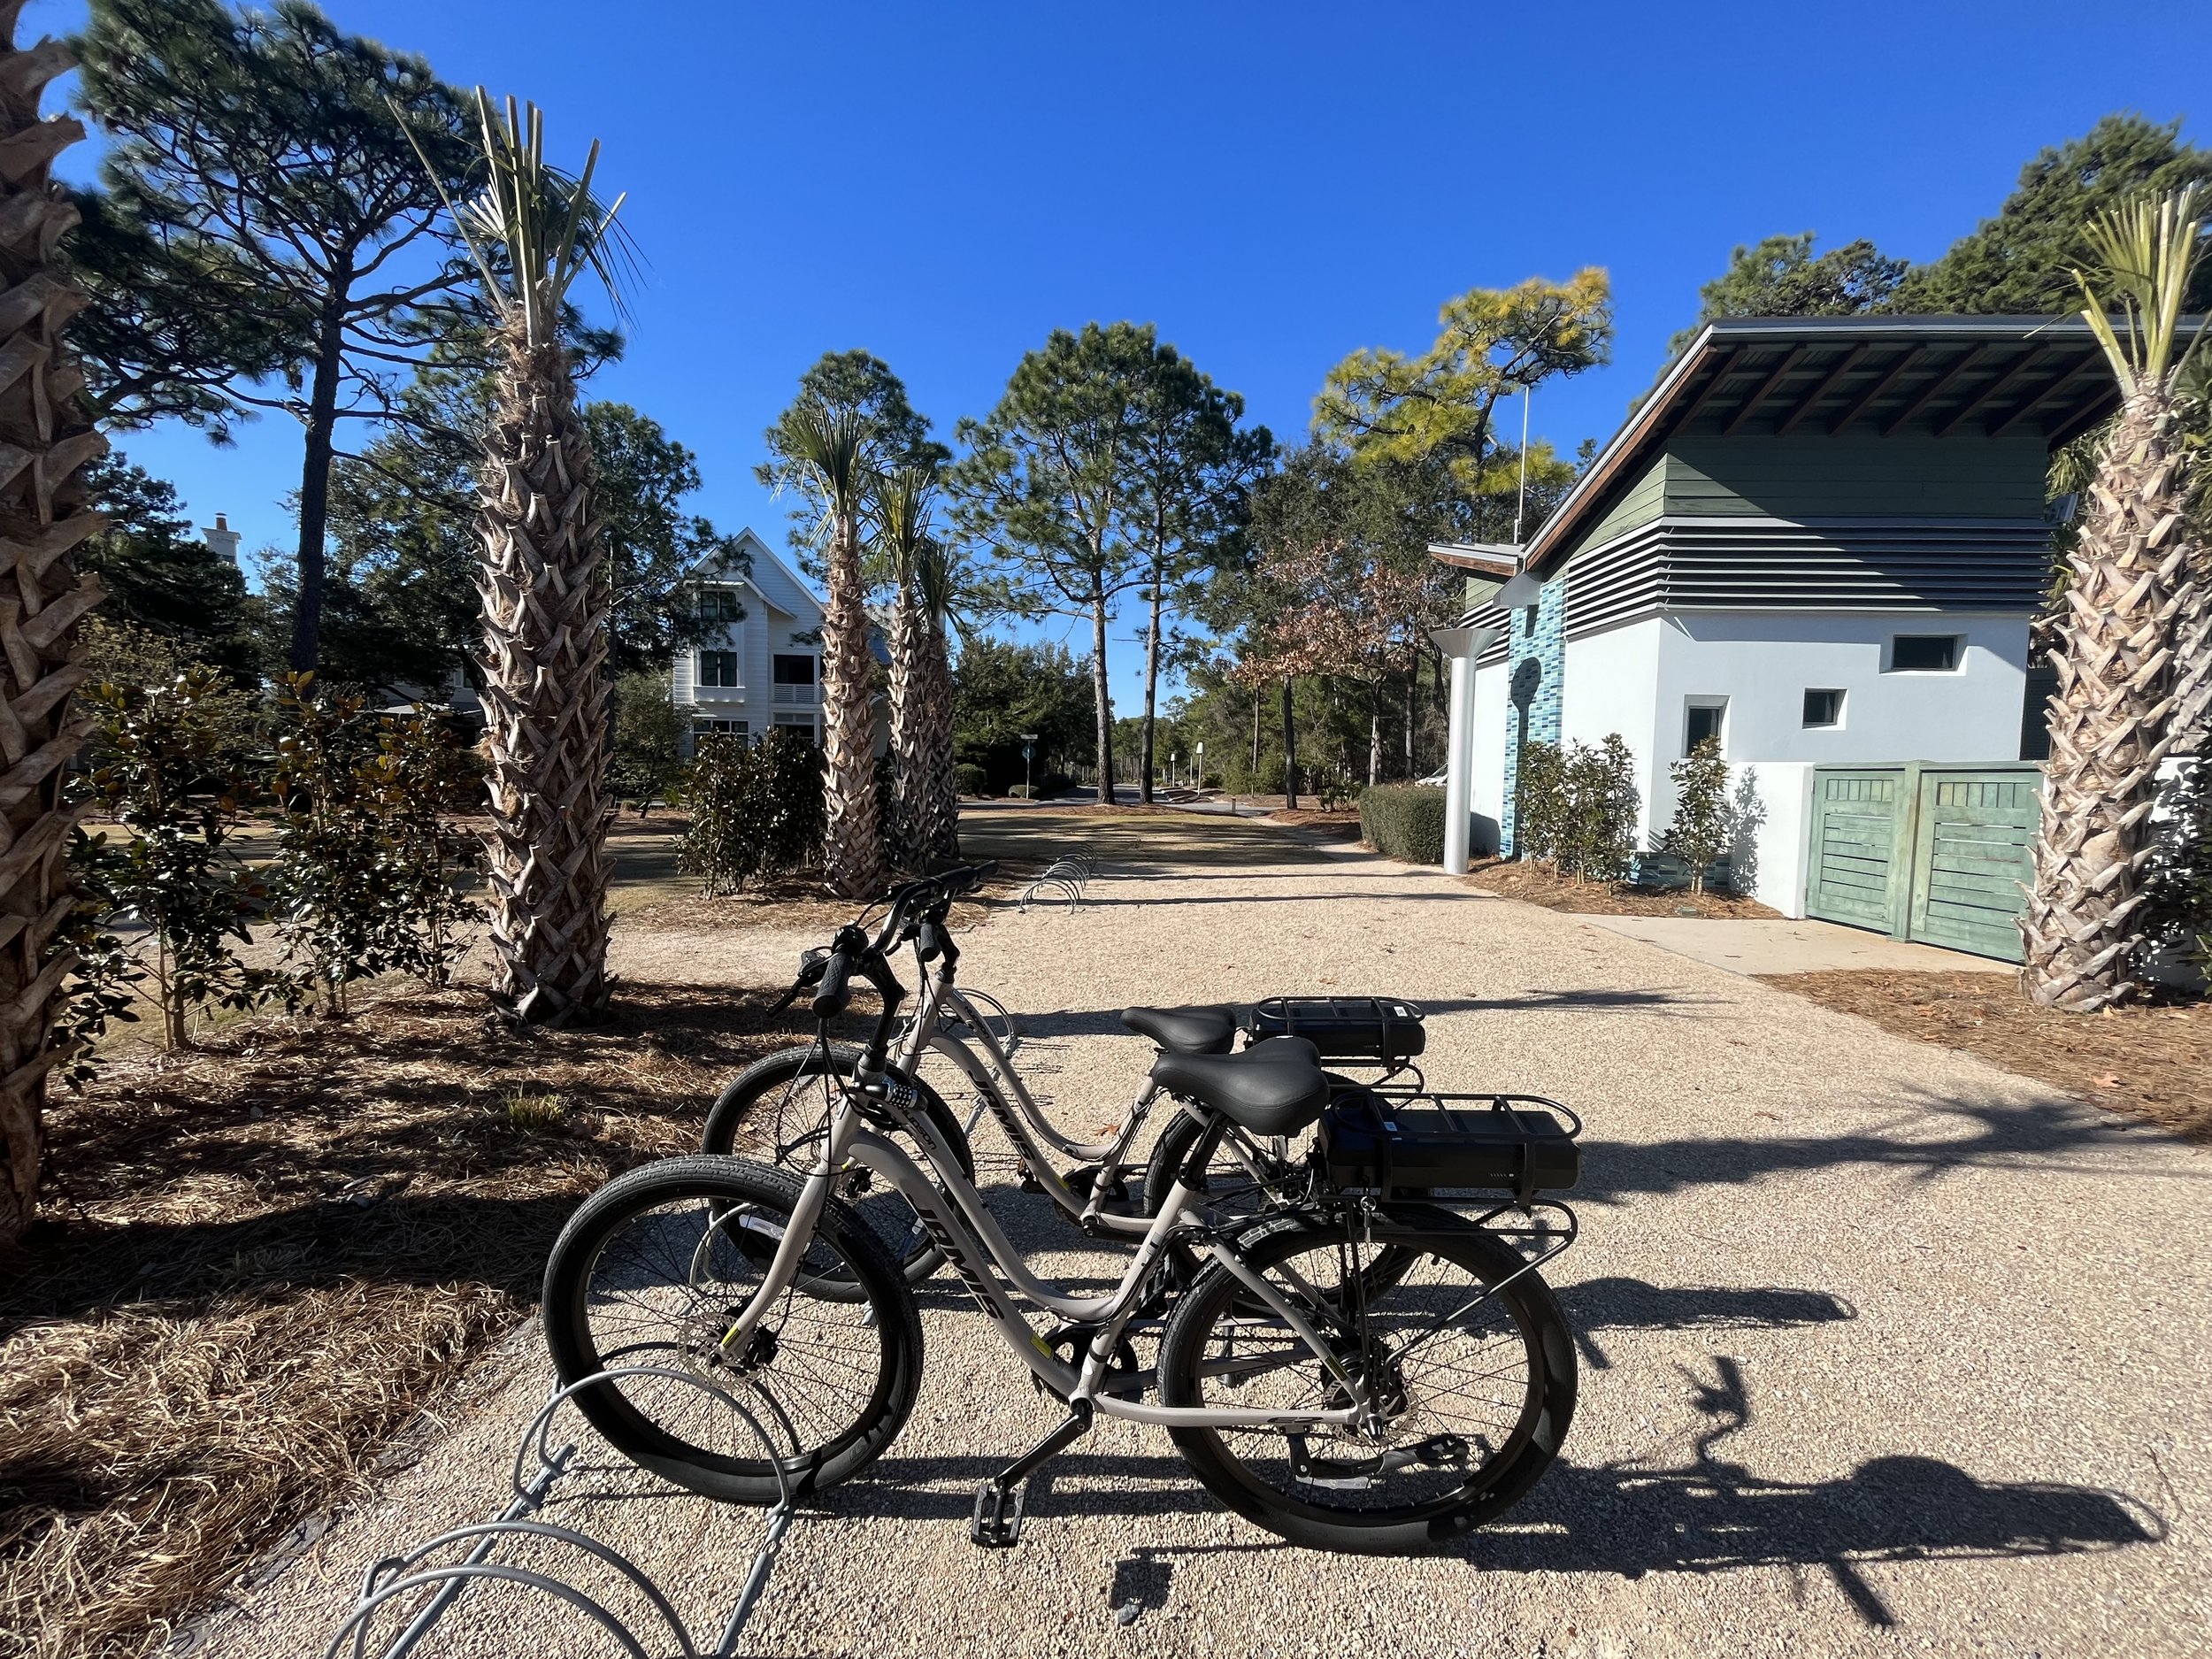
You are responsible for any damage or theft when you rent our bikes, every rental includes a lock, we require you to lock your bike when unattended.
-
You can contact us on our contact page and call the number provided for fastest service.